To ship your orders with UPS, Ordoro provides two options:
- Create a UPS account through Ordoro with discounted rates.
- Connect an existing UPS account.
This article describes how to connect your existing UPS account to Ordoro.
Topics
Connect an existing UPS account to Ordoro
You’ll need a recent UPS invoice and your account number to connect an existing UPS account. See more details below.
- Click on your Company Name in the top right corner. Select Account Settings.
- On the left, under Integrations, click Shippers/Carriers.
- Click Add a shipper and select UPS from the dropdown. A pop-up will appear to set up the account.
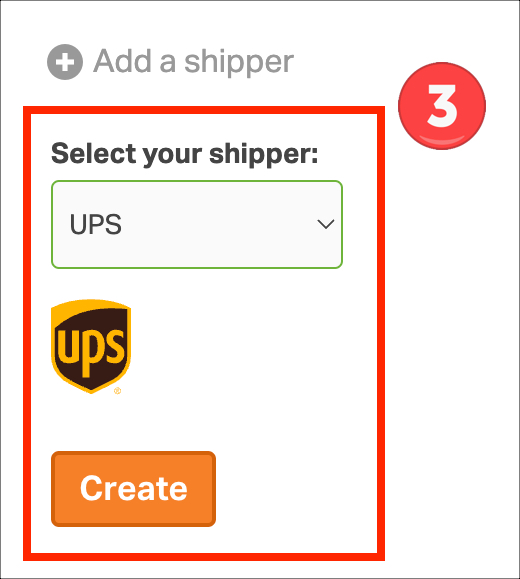
- Select Existing Account.
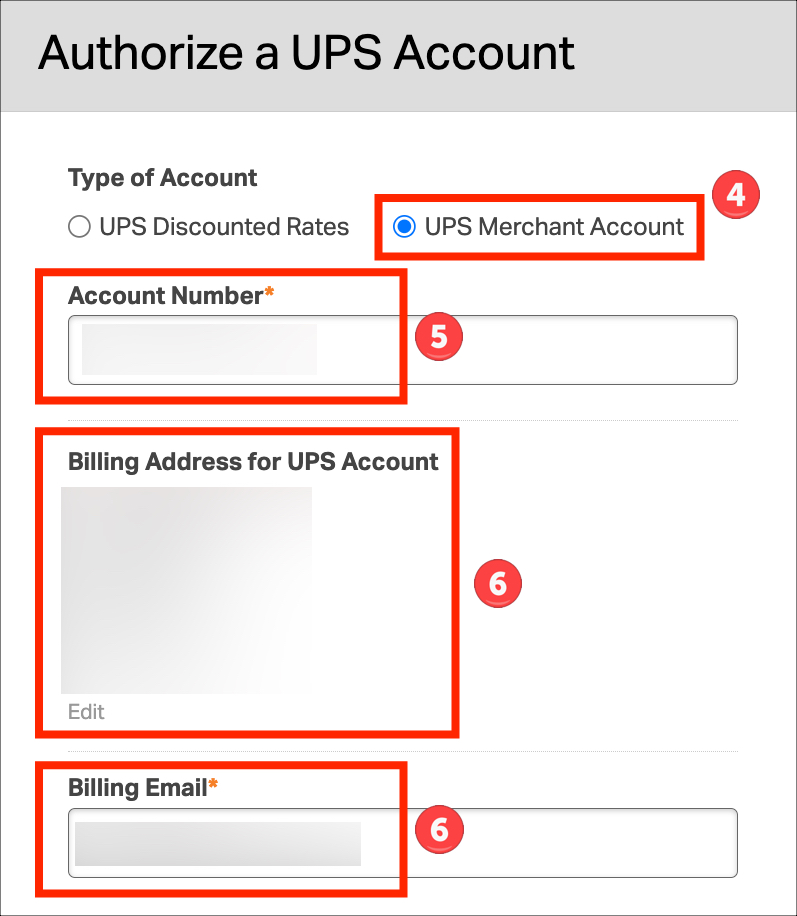
- Enter your UPS Account number.
- Confirm that the Billing Address for UPS Account information matches the UPS billing address on your invoice.
- If the Company Name and address do not match your UPS billing address, click the Edit button to update.
- Do not include the +4 digit extended zip code in this address.
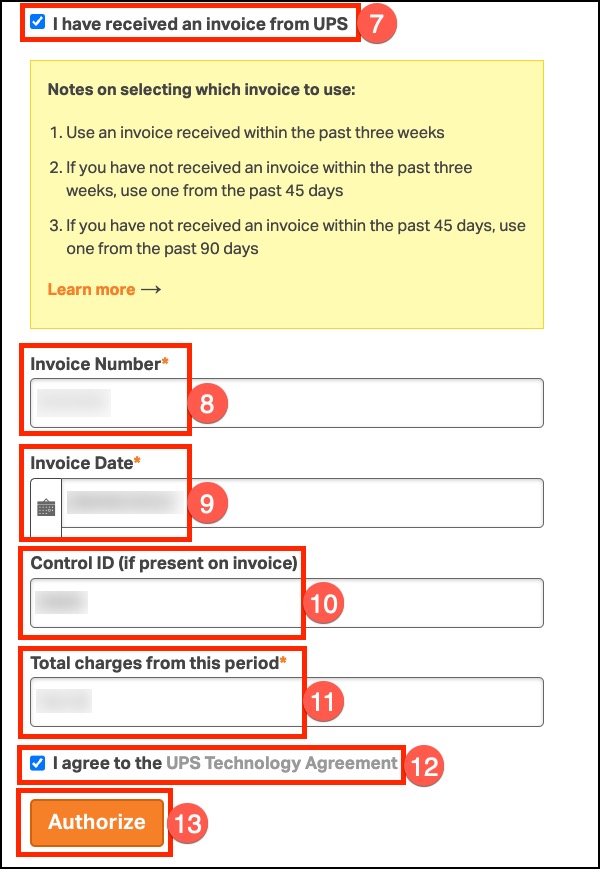
- Select the checkbox for I have received an invoice from UPS.
- Use an invoice from at least the last 90 days and its information.
- Ideally, use an invoice at least 2-3 weeks old.
- See the Sample UPS invoice for extra help.
- Key in the Invoice Number.
- Select the Invoice Date.
- Enter the Control ID.
- Enter the Total charges from this period.
- Select I agree to the UPS Technology Agreement.
- Click on Authorize.
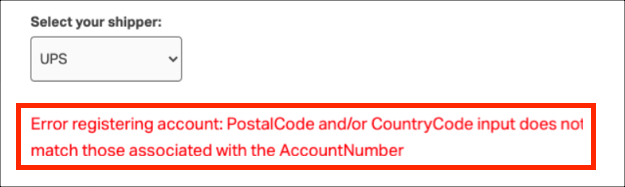
- Warning: if you attempt to create a UPS account and received errors three times within an hour, your UPS account will be locked out for 24 hours.
- Feel free to contact support@ordoro.com if you see any errors.
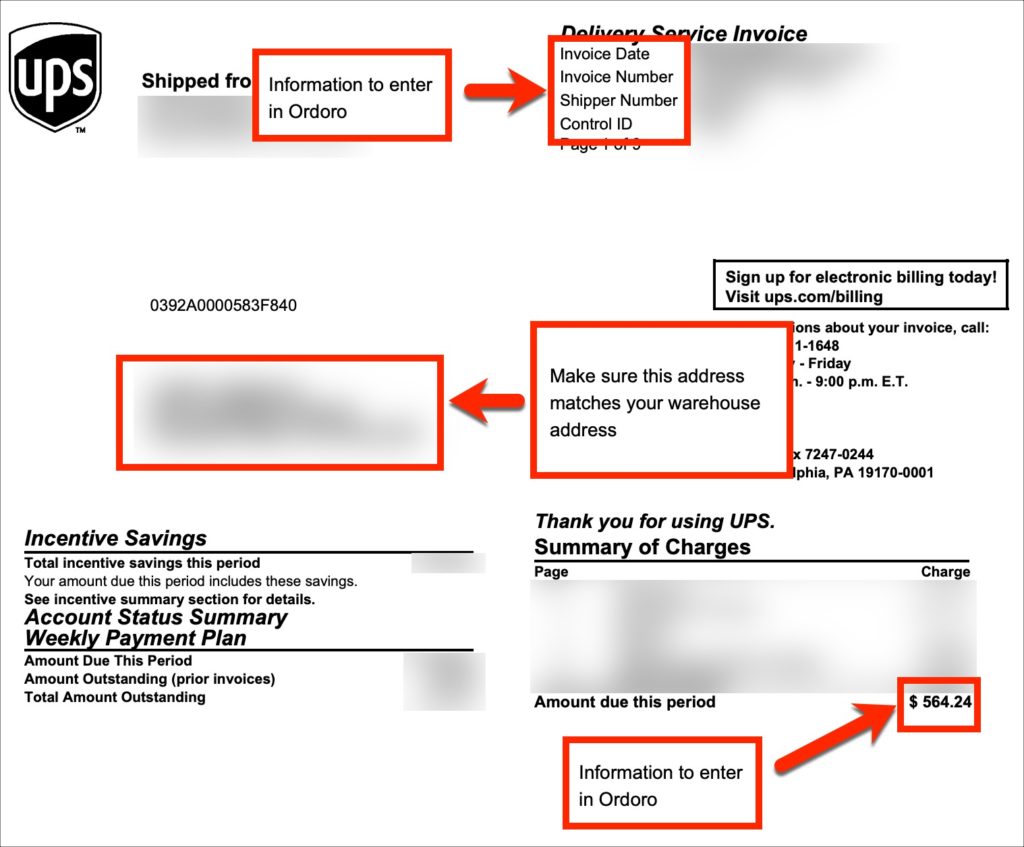
Sample UPS invoice
Sample UPS invoice for reference. Click on the image to expand.
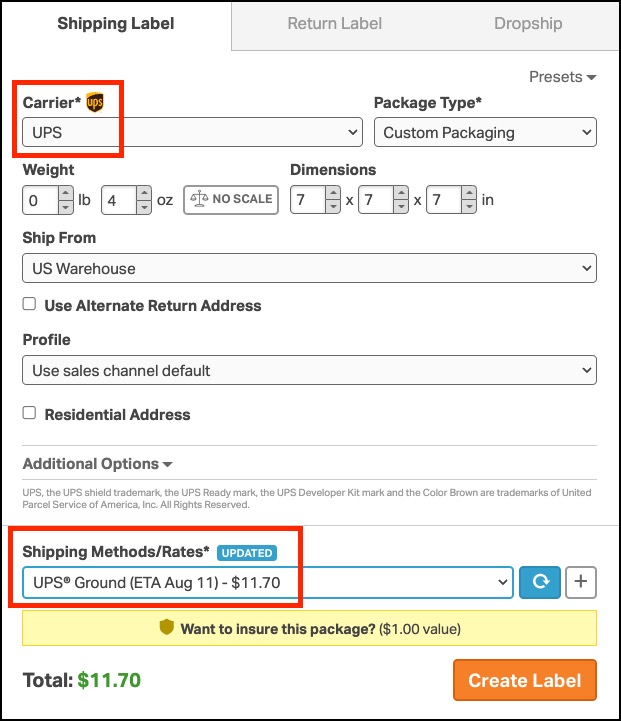
How UPS rates appear
Once UPS has been added, you’ll see Ordoro’s discounted rates or your negotiated UPS rates when creating a shipping label.